WordPress 5.0
Use this for dummy text: Lorem Ipsum
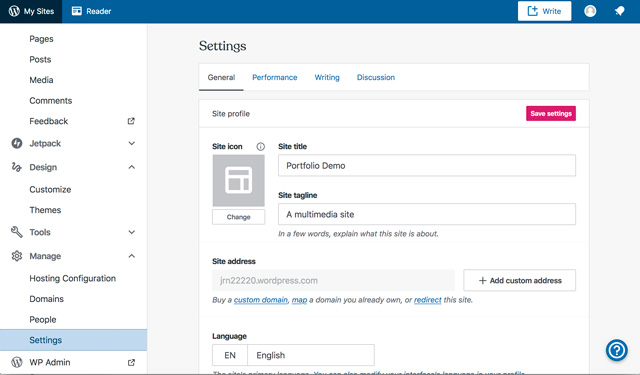
I. Settings
Add your site title and subhead.
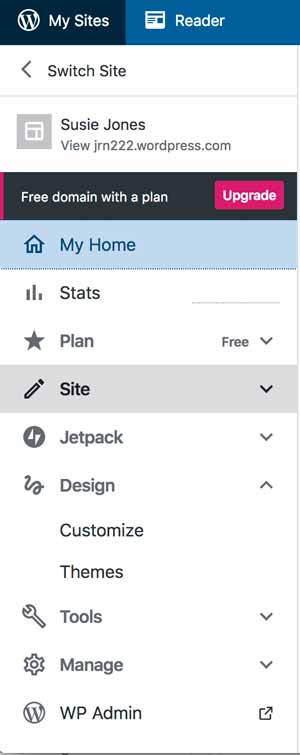
II. Navigate to your site pages and posts
Click on the arrow next to Site in the left-hand navigation to reveal pages and posts.
III. Add a Page
Click on pages. Next in the upper-right hand corner, click on the fushia “Add a Page” button. Next, click on the black box with a gear in it in the upper-right hand corner. This will show you the settings for the page, with a tab which will show you settings for each block. You will use pages for content that is relatively static, that you don’t update, like an About page, Resume page or Contact page.

IV. Save, Preview, Publish
In the same upper-right hand corner, you will see Save, Preview and Publish. Once you publish, you will instead see Update. You must publish a page to have it show up in the options for menus.

V. Return to Main Menu
Click on the WordPress icon in the upper left hand corner to return to the main menu. This is also how you get to the link for previewing your site.

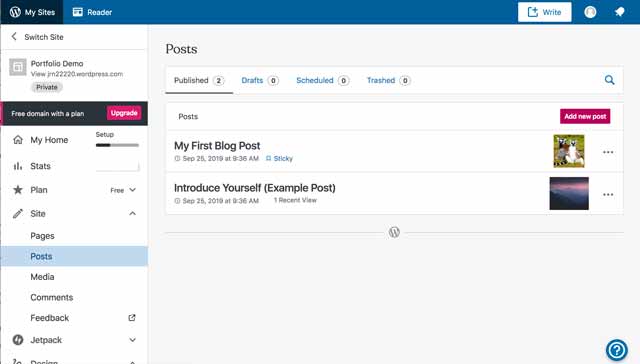
VI. Add a Post
Click on Posts from the main menu. Click on the fushia button on the right that says “Add a Post” or on the +Write button at the very top right.
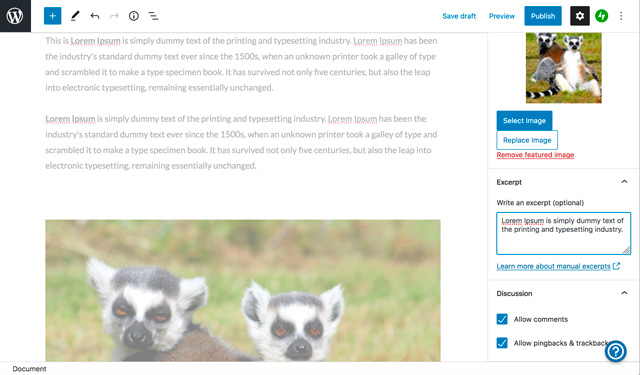
VII. Add a Featured Image and Excerpt
The featured image is what shows up on the home page, along with a short description of the post. These are both in the Page options, towards the bottom. Some themes will also show the featured image in the post. In these cases, you should choose something that isn’t already in your post.
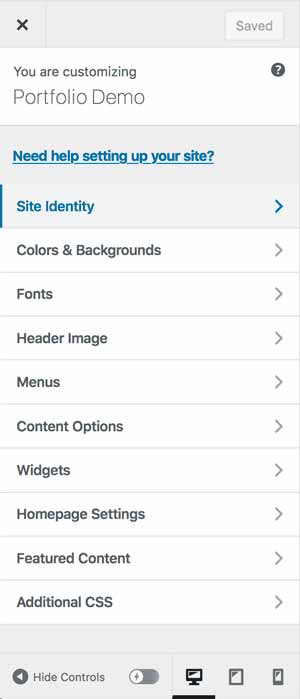
VIII. Customize
Under Design in the main menu is the Customize option. This is where you will make most of your design and other tweaks. It will vary depending on your theme.
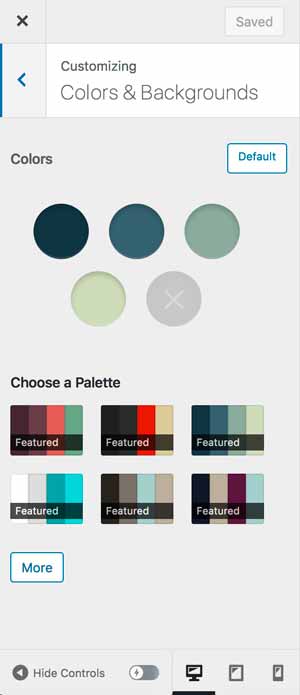
One option is to select a color palette.
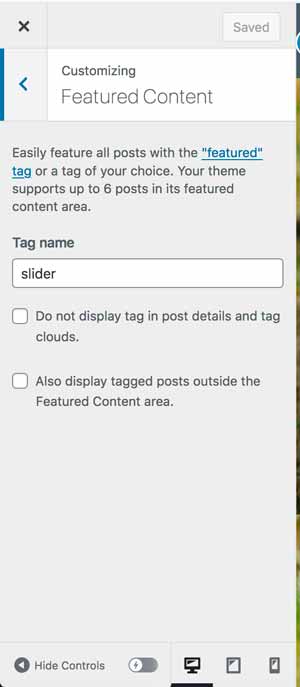
IX. Featured Content
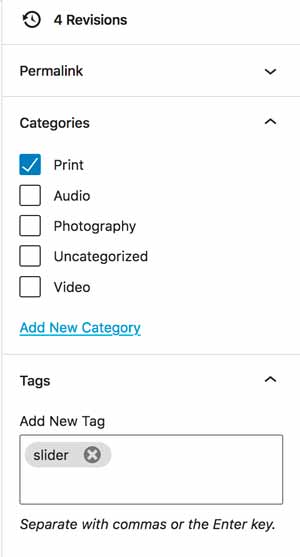
Some themes will have a slider up top on the home page where you can select certain content to appear. One way this is done is through tagging these posts with a key word. The key word can be whatever you want, you just have to indicate in the Customizer what that word is.
X. Add a Menu
To add a menu, you must first have created and published the pages you want to add. You also need to create the categories for the posts. To create categories, you can Add a post and then go to the Page options in the right hand column. (If you don’t see the Page options, click on the black box with a white gear inside.) Scroll down to categories and Add New. Hit return after you do so it will register.
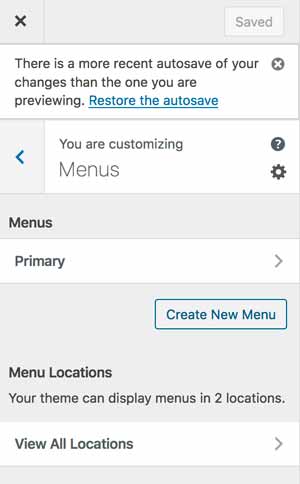
Next, go to Design > Customize. Scroll down to the Menu option. Next, click on Create New Menu.
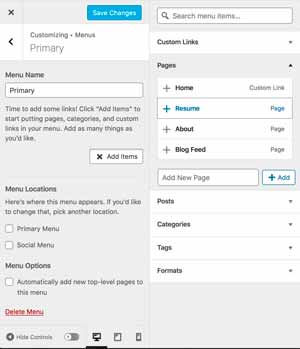
Add the Pages and Post Categories
Pages
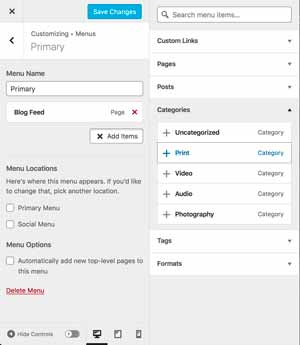
Post Categories
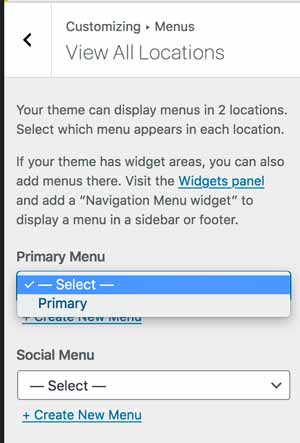
Important: you must set the menu to a location. For the global menu, chose Primary.
XI. Adding a Photo Narrative
There are several ways to do this, however, the simplest and quickest is to use the classic WordPress editor.
– Create a new post.
– Give it a title.
– Click on the black + and then click on the Browse button to open up all of the blocks.
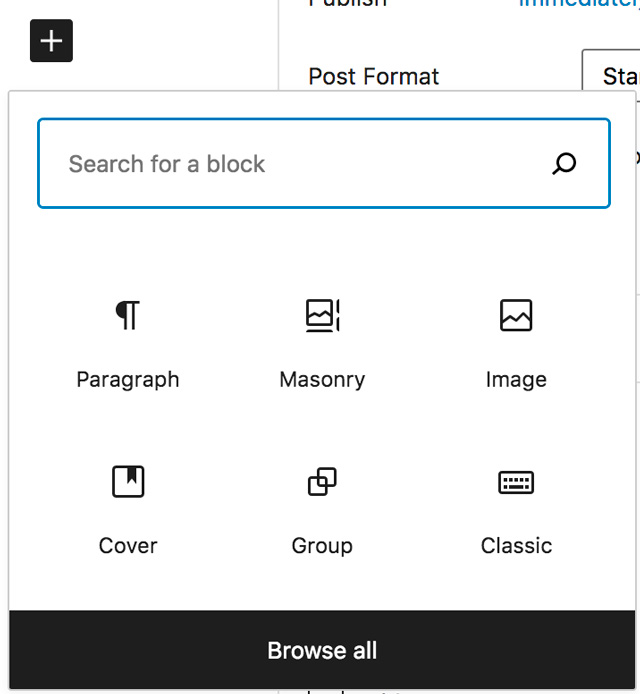
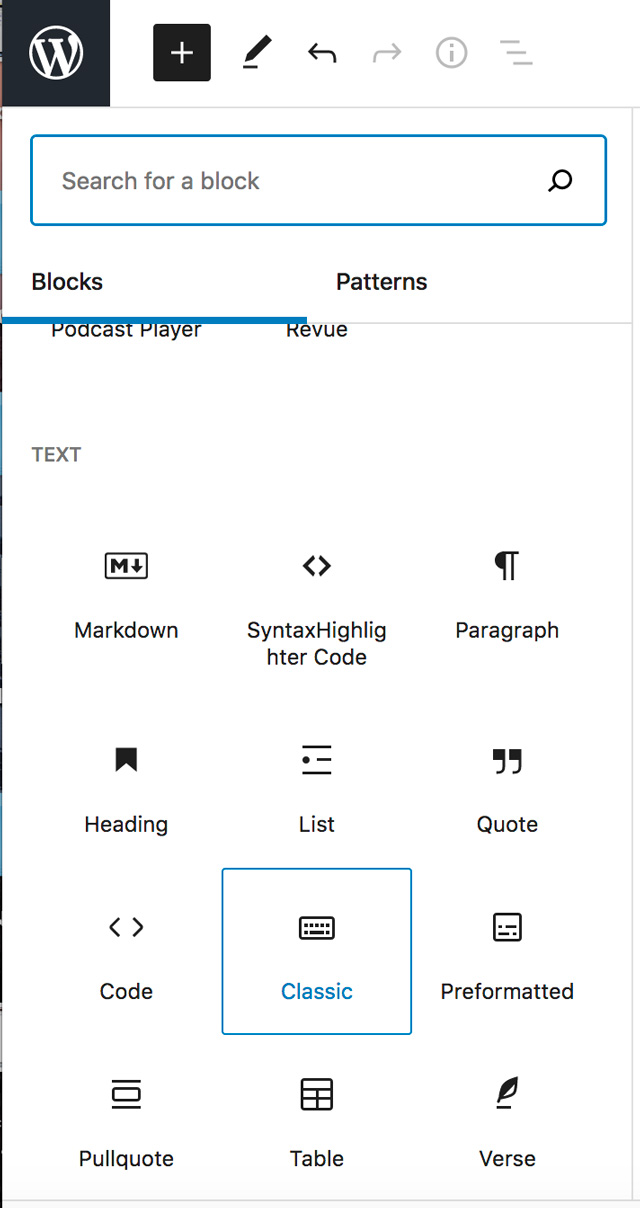
– Scroll down until you see the “classic” block. (Or type classic in the search.)
– Once you select it, the post should look like this:
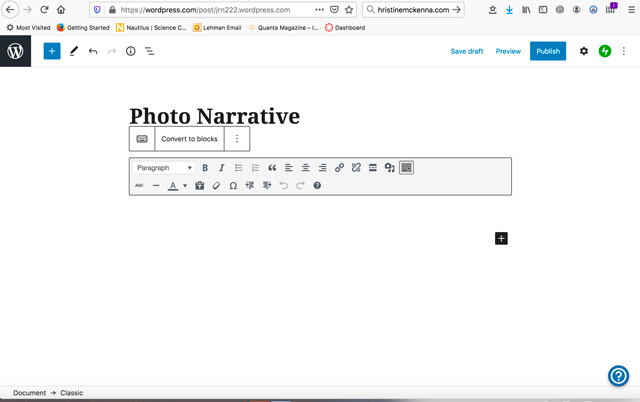
– Type or copy and paste your introduction at the top.
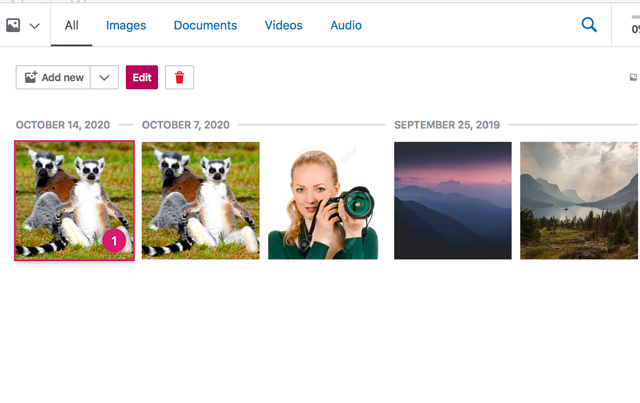
Next click on the media button that looks like a camera and a musical note.

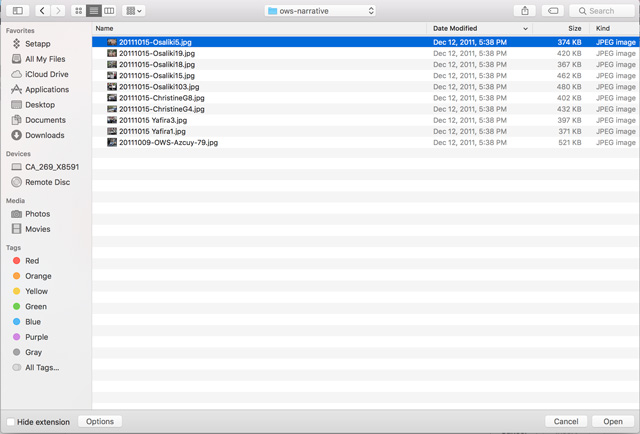
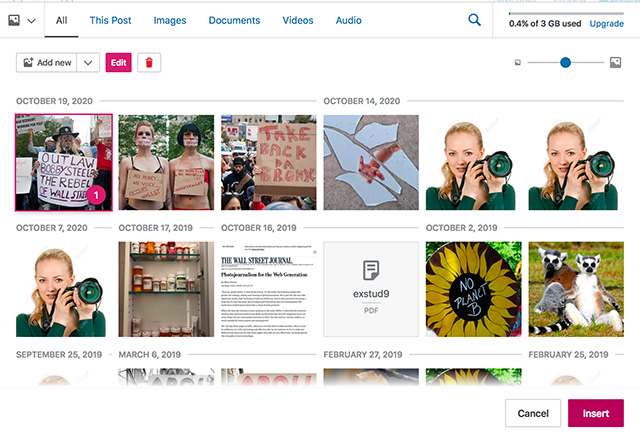
– Click on Add New and navigate to the photos on your desktop.
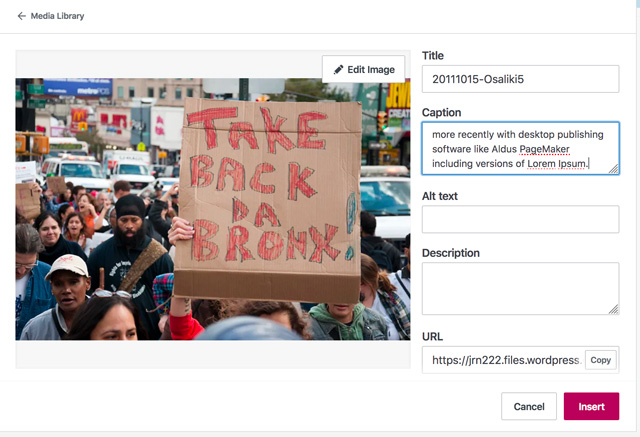
– Once uploaded, click on the image and a pink Edit button will show up. Click on it.
– You can then add a caption and insert into the post.
An alternative solution is to just insert the image and type your text beneath it.
Note: you should be able to put the entire photo essay in this one block. If the tool bar ever disappears, just click within the block and it should reappear.
XII. Widgets
Dyad 2 has one dynamic widget area in the footer that will display in up to four columns depending on how many widgets are added. (Each theme is different but most have at least a footer and many have sidebar widget spots.)
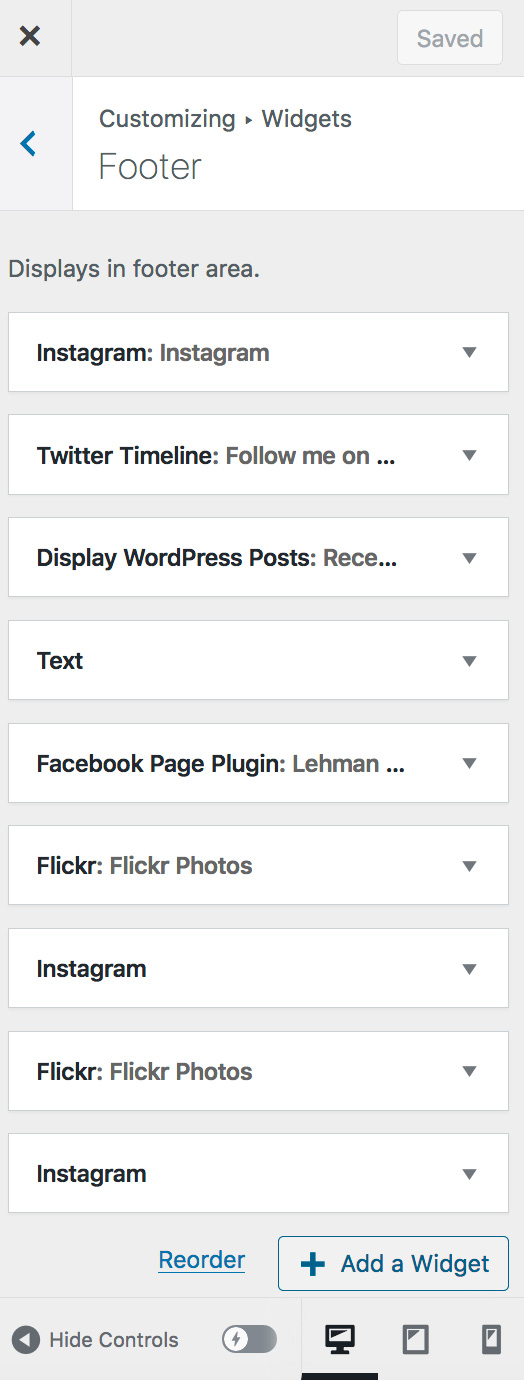
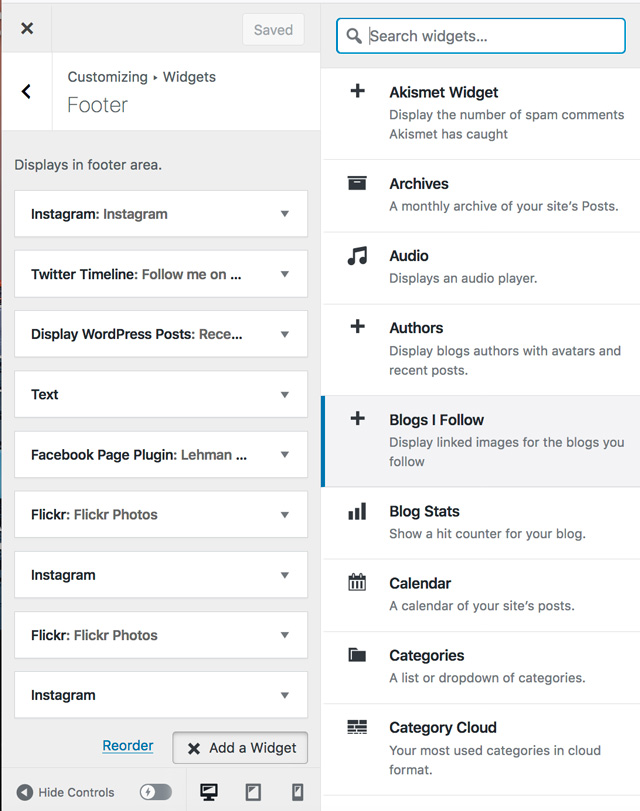
Go to Customize > Widgets. Select four of the available widgets and add to the footer. The order determines which column they appear in. If possible, select your social media accounts. Recent posts is another effective widget as it offers a secondary navigation of your content. Facebook requires the URL of your page, Twitter your handle. Instagram requires you to give WP permission to include the feed.
XIII. Embeds
To embed a video or another object into a post or page, place its URL into the content area. Make sure the URL is on its own line and not hyperlinked (clickable when viewing the post).
For example:
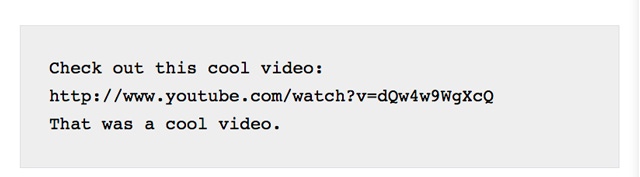
WordPress will automatically turn the URL into a YouTube embed and provide a live preview in the visual editor.
Another option is to wrap the URL in the “embed” Shortcode.
// NOTE: Remove space between '[' and 'embed' when you try.
[ embed width="123" height="456"]http://www.youtube.com/watch?v=dQw4w9WgXcQ[/embed]
If WordPress fails to embed the URL, the post will contain a hyperlink to the URL.
You can use all of these: